
In late 2010 after I left Borders and moved to our home in Vermont full time, we decided to create raised beds. We had an open and sunny space in the side yard. I figured with my back, life would be easier if I did not have to bend and reach to the ground. My back has been helped and I have been kept moving and living life with Bowen Therapy provided for nearly a decade now by my Bowen Therapist William Kelley

Ironically it was less expensive to buy the 2″ planks at a big box lumber yard that from the local sawyer we checked with for green hemlock! Much less expensive! DO NOT use any pressure treated products! We went looking for 12″ wide and settled for 10″ wide as that was what was available and we needed to get the project underway.
We constructed the “boxes” in the driveway. 4’x12’x 10″. Nailed first and then screwed. Then we carried them out and positioned them. This shows 7 of the 4’x12’s (the 8th is off to the right) and two 4’x4′. The aisles are 4′ wide. Notice the Apple Arbor in the background.
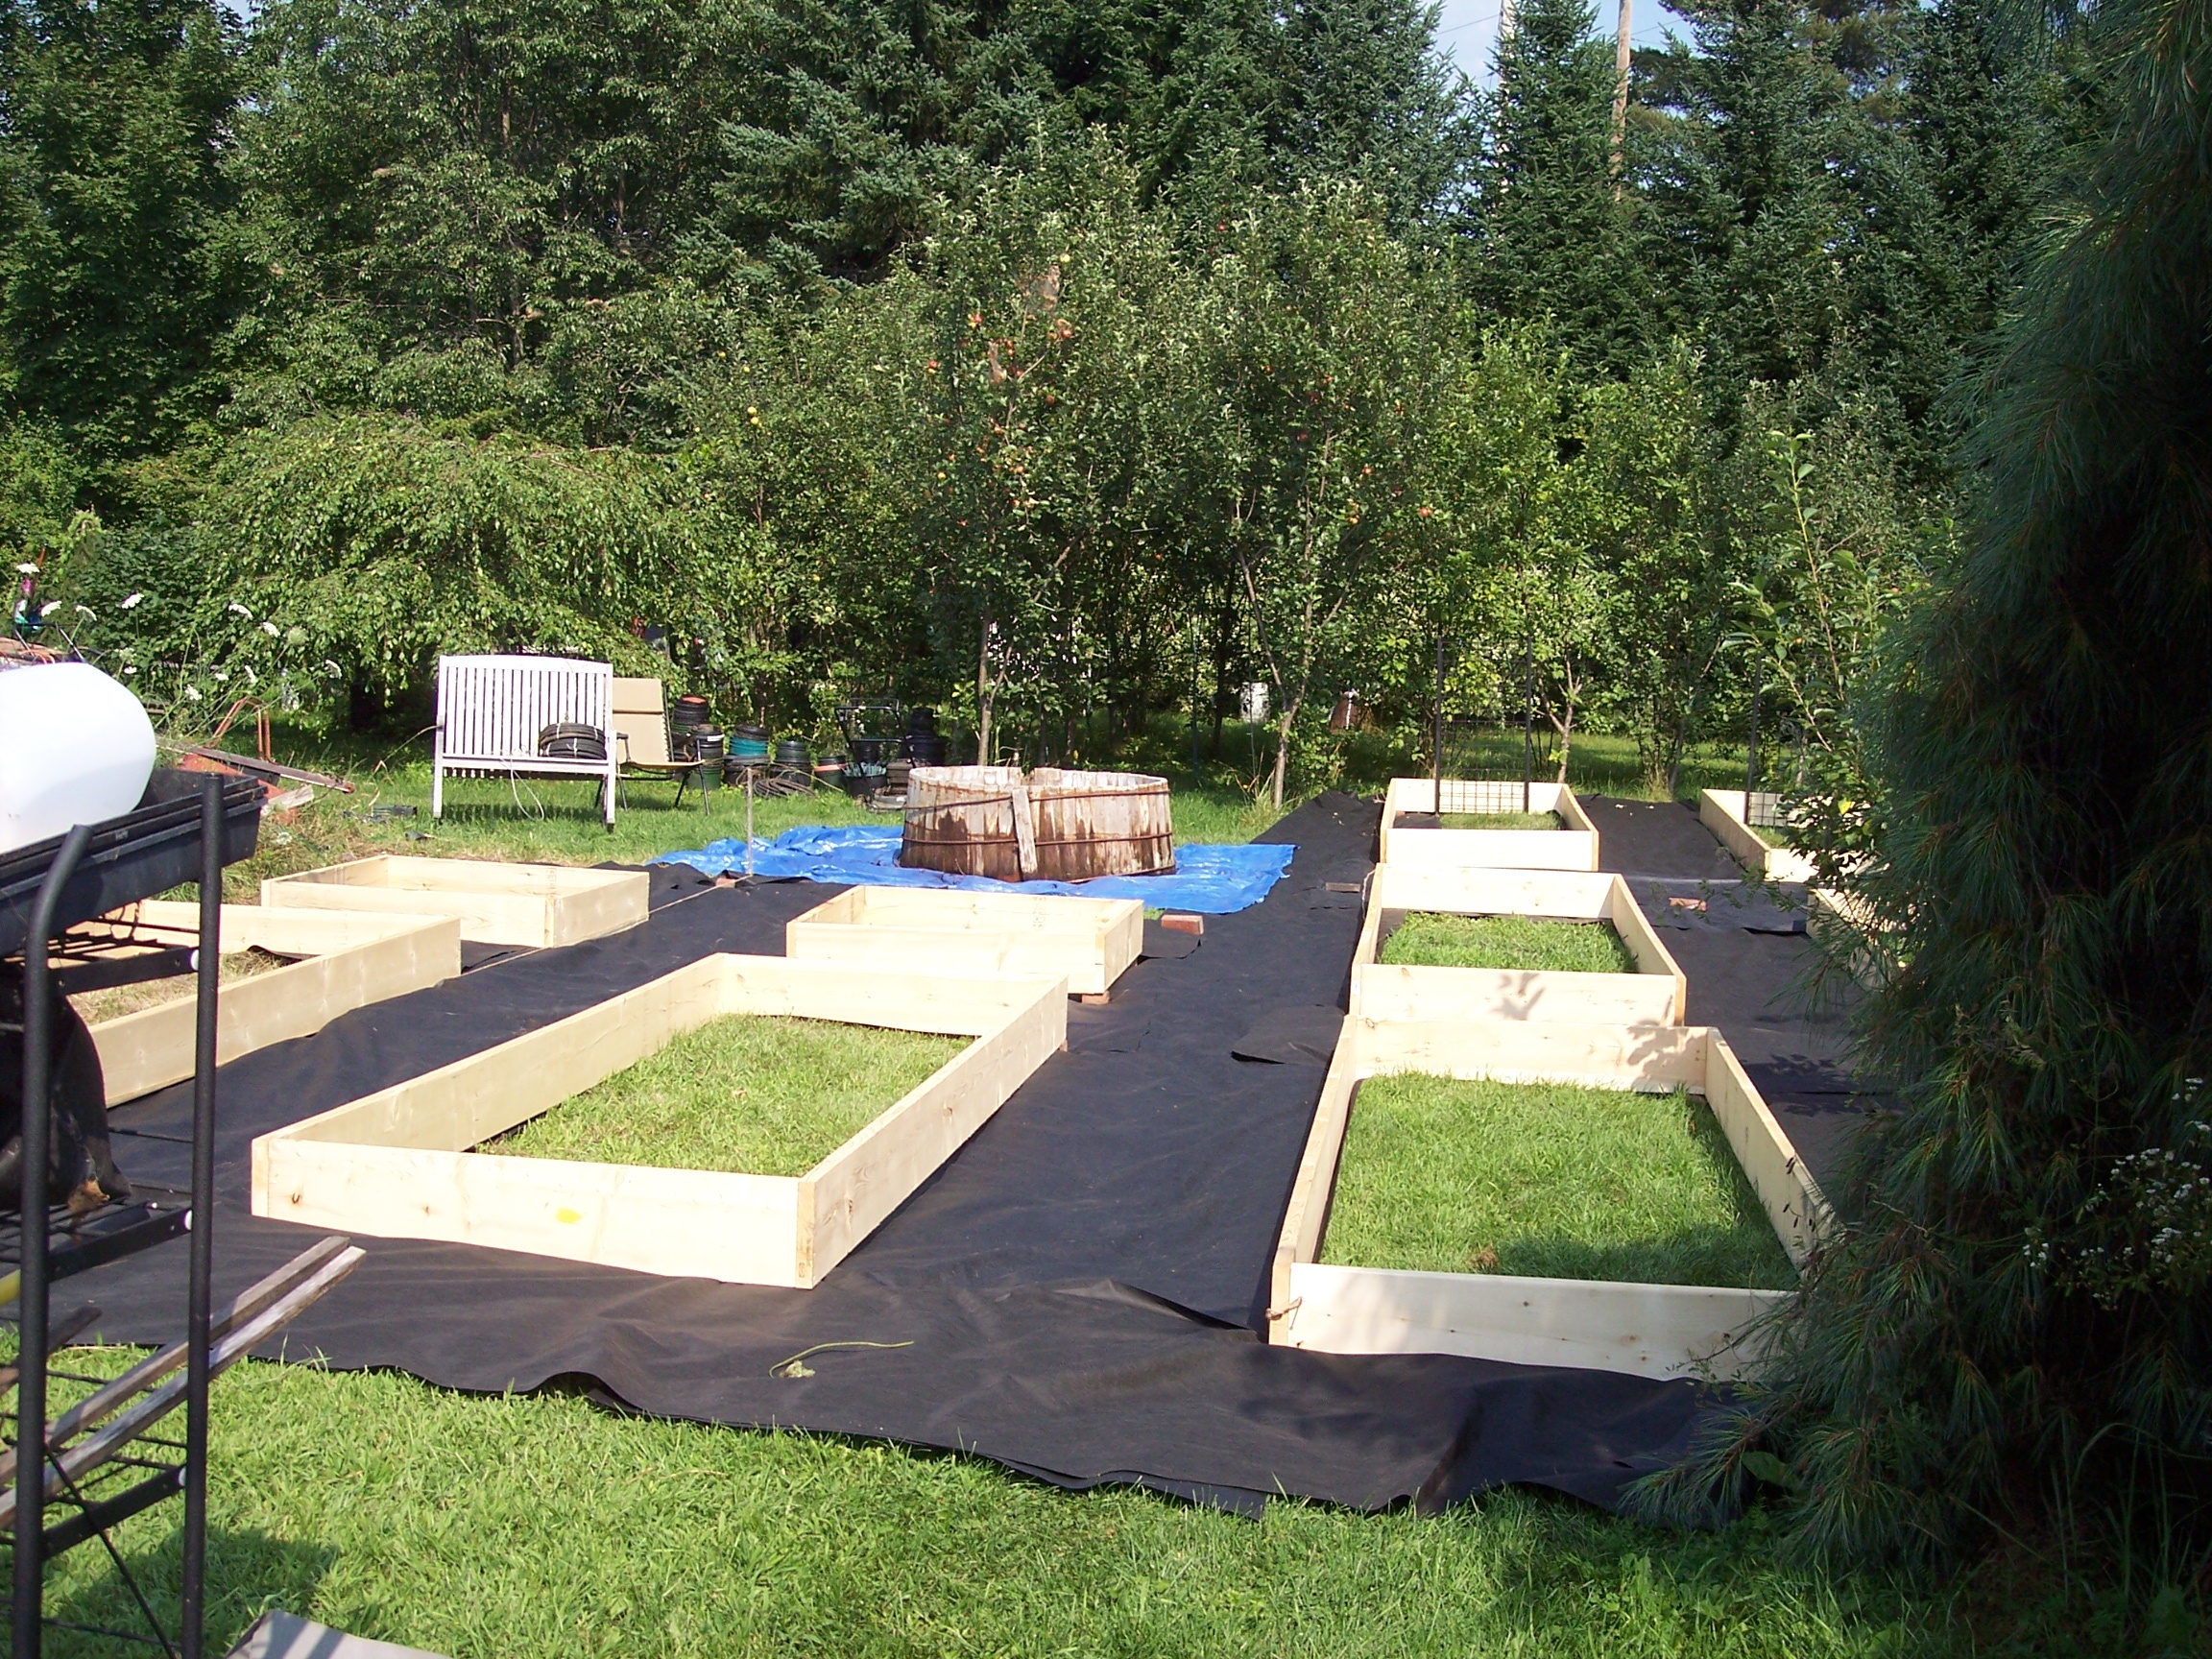
Landscape fabric was laid in the aisles and tucked under the edge of the boxes. You my want to skip this step. We wanted the bottoms of the boxes uncovered so grass and roots would compost and worms could migrate up.

We had top soil delivered and dumped in the driveway. Tom, bless his heart, used a wheel barrow to fill the boxes. I picked up composted cow manure from a local source and added that on top of the top soil Boxes were covered with black plastic for the winter so they could “cook” and “work”. Took the plastic off in the spring and found that a large rat snake had decided that curling up in the corner under the plastic was a nice way to warm itself:)

After we removed the black plastic winter covers we had a fresh snow. Poor Man’s Fertilizer ! Late snows are so called as they deliver nitrogen to the soil.

Snow has melted, rat snake has found a new home, apple arbor is budded, aisles have been covered with bark mulch and the beds have been turned by hand with a spade fork.

Planted and looking good. It is amazing the difference the 10″ elevation makes! Easy to bend, reach and work both sides. We figure as I “mature” we can add 10″ levels and make 20″ tall and then when I am 90! 30″ tall. When the sides decompose (7, 10?? year we will box around the outside with fresh planks and then the interior original frame continue to compost.

THEN! we had the idea to make three “sets” into greenhouse hoop houses! We used PVC pipe and the same system on the side of the raised beds that we used when we constructed our much smaller Poultry Breeding Pens
Two 4’x12′ raised beds with a 4′ aisle means the hoops are 12’x12′

In the picture above you can see how we did the top of the arch. The Hoops are 18″ apart. Two 10′ pieces of 1″ PVC join at the PVC “T” connector. Pieces of PVC join the hoops and maintain the spacing along the top.

This shows how we framed the doors… The uprights are connected to the outside hoops w/ electrical conduit clamps like were used at the bottom. Angled supports on either side and one back support on the side where the door hinges are. We found screen doors on sale for $19 and picked up one for each of the three hoop houses. We could not build doors for that when you consider time and materials. Doors were covered with 1″ chicken wire. The back was framed similarly without the internal door support.

Because we planned to winter chickens in two of them we put 4′ tall 1″ chicken wire around the inside of the hoops and attached w/ plastic zip ties.

Composed cow manure placed over the beds.

A very generous layer of leaves on top of the cow manure. Leaves are good for the garden as they are full of minerals and elements from deeper in the earth. You can see here that we placed nest boxes in the back.

Greenhouse plastic applied. Corners had not been finished when picture taken

The third hoop has two smaller hoops over the raised beds. Greenhouse plastic was then applied like the other two. This is the hoop where we plan to master Four Season Gardening. We aren’t there yet but we will get there. Spinach, kale, mustard and other hardy greens for fresh winter harvest.

Winter arrives, The front hoop is where we are working to master winter greens. The back two house chickens seasonally. We had one upright support in the center to start. Then added two more so there there are three supports for winter to deal with wet snow loads with out me having to get up during a storm and clear the snow off! Two come out in the spring. Only the center support stays and it is connected to the hoop w/ an electrical conduit clamp before the plastic cover was applied.

Our Chanteclers are using this hoop for the winter. You can see the three center supports. Middle one is permanent and the two on the ends are seasonal. All joined and stabilized by a 2×4 to serve as a roost in the two houses with chickens.
There you have it. They work well for us. You can modify, if you feel it necessary, and make work for you.
Hey Jim! Looking AWESOME!
Very inspirational. I’m so excited to finally get going here, but boy did I underestimate how little free time I would have when the boys arrived, and boy did I overestimate how much the little buggers would cost.
Have about 20 more trees to come down and then we can pull stumps and build beds.
In my mind, it looks awesome. But the yard will look awesome soon!
Thanks John!
One step at a time! A bed or two at a time! Maybe some containers on the deck Like Pat does. Let it evolve. The boys are getting old enough to help and have their own little garden area:)
Another wonderful post. You are living my dream! Thank you for all the helpful information and inspiration.
You always inspire me Jim. Gives me hope for my future of eating non-toxic food, fresh. I am going to double the size of my garden. Now if only I could raise “meat” birds, and eat them:) I am happy with my fresh eggs.
I know you get a lot of snow there… how well do the PVC hoops stand up under snow load? Or do you go out and brush them off when it snows a lot? Does the hoop house get too hot when the sun is out? I love this idea and would like to implement it too.
You will notice in the last picture (with the White Chanteclers) that we have three center supports joined by the winter roost. Once Chickens move out in Spring — roost removed and two end uprights removed… center upright stays as it was affixed to the hoop before plastic put on.
Heat from sun….no issue in the winter… Doors are open wire and not covered (except for the 10 subzero days we had this winter when I hung a cheap blue tarp over the doors at night.
Winter sun just makes for comfortable space where the earth stays unfrozen and the White Chanteclers dust bathe.
Of course by April/May the sun is too hot. By then the White Chanteclers have moved to summer quarters. The back side of the hoop ha been opened — shade cloths have been put on if needed.
Has handled this winter’s snow. That said! if we were getting a blizzard of 24-30 inches I would check and tend to the hoops!
So enjoyed reading this … great work and very impressed!
Thank you , this was very helpful. Not to mention inspiring!
You are more than welcome!
I found you here after trying to find a way to cover (frame) my grapes in a raised garden bed. I needed a frame to place bird mesh over. I just knew that prior next season, I’d find a way. Thank you ever so much.
Cheers … Shirley .. Victoria .. Australia
So pleased to hear that you could adapt our hoop houses. Thank you for letting us know.
Love your project. Just what I’m looking for to use over my garden. Like James, I will be using bird netting. Is the top straight pvc pipe one continuous piece or are they separate pieces attached with connectors?
pieces with connectors between each hoop